
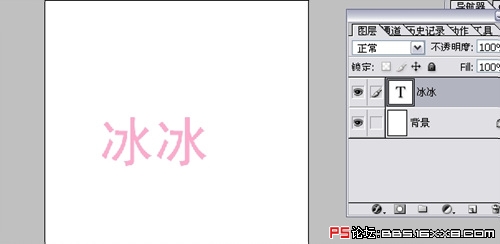
字体特效 Photoshop制作红粉可爱的签名字体先看效果图:

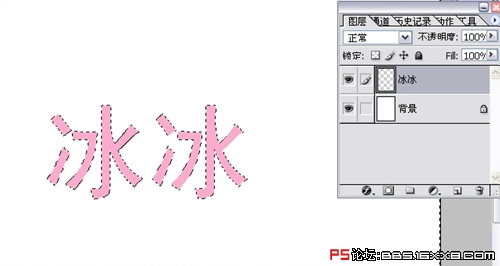
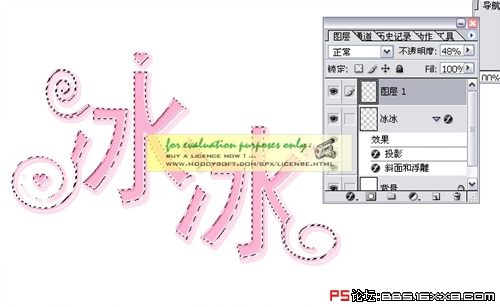
按住CTRL鼠标点击图层。选中打出来的字。然后栅格化图层
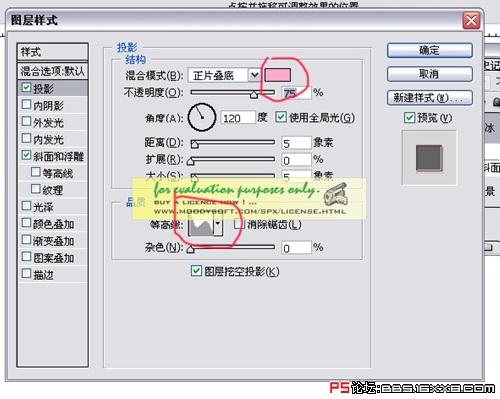
混合选项选斜面和浮雕.正片叠底那的颜色要选和起先打的字颜色一样

混合选项选投影正片叠底的颜色还是粉色

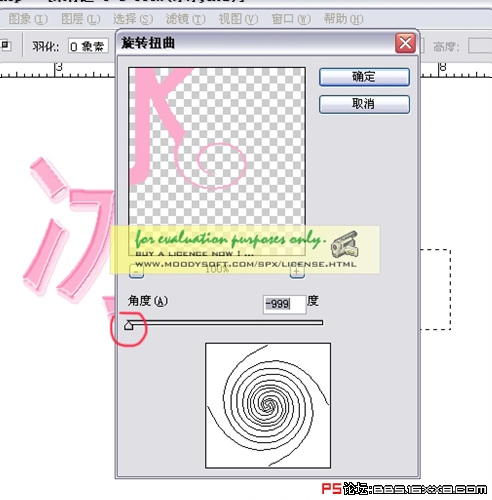
用选框工具选出文字想要加工的地方(扭曲——旋转扭曲)
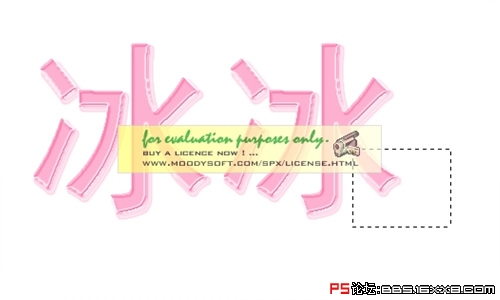
再用选框工具选住一个字。把他拖到合适的位置。使之更好看

再用心型笔刷在需要修饰的地方做些修饰

再用魔棒点击文字图层(反选)。然后再新建一个透明图层。填充点阵。调节透明度
最后描边。一象素。颜色(白)


OK了!简单的,我们教你,深奥的,你来分享
按住CTRL鼠标点击图层。选中打出来的字。然后栅格化图层
混合选项选斜面和浮雕.正片叠底那的颜色要选和起先打的字颜色一样
混合选项选投影正片叠底的颜色还是粉色
用选框工具选出文字想要加工的地方(扭曲——旋转扭曲)
再用选框工具选住一个字。把他拖到合适的位置。使之更好看
再用心型笔刷在需要修饰的地方做些修饰
再用魔棒点击文字图层(反选)。然后再新建一个透明图层。填充点阵。调节透明度
最后描边。一象素。颜色(白)
OK了!简单的,我们教你,深奥的,你来分享


