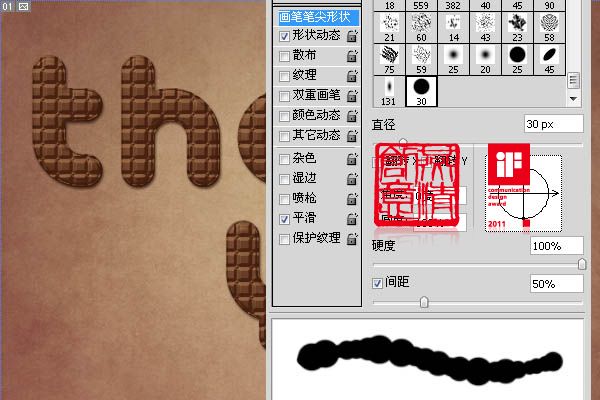
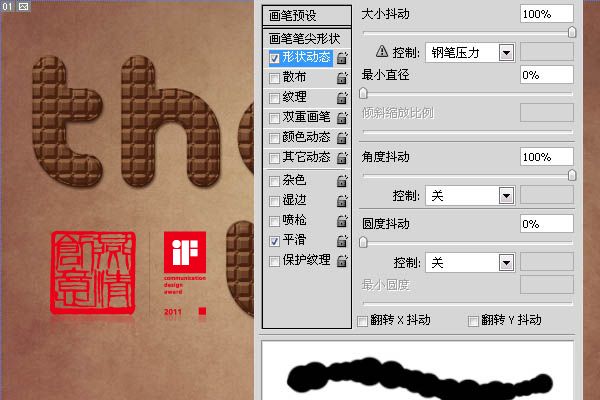
二十一、现在我们在文字下面新建一个图层,然后选择画笔工具,按F5弹出画笔属性窗口。如下设置。
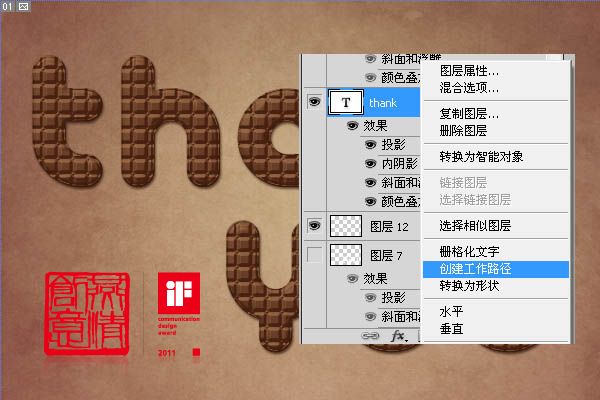
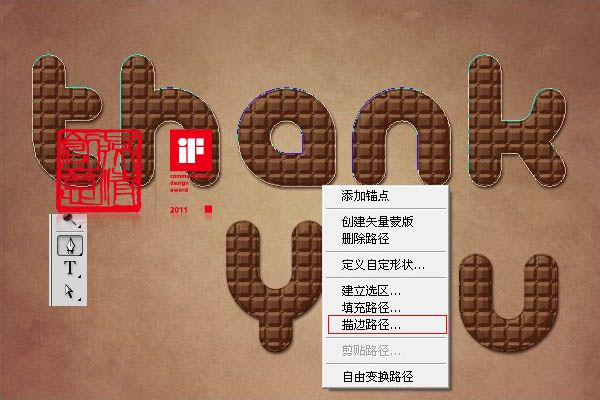
二十二、选择钢笔工具,然后右击文字图层,选择“创建工作路径”。
二十三、然后在把鼠标移动到画布中,右键选择“描边路径”,在选择“画笔描边”,这里注意了,前景色要为白色。
二十四、然后用同样的方法将下面的文字也做上。

二十五、现在我们给刚才制作好的背景加样式。投影。
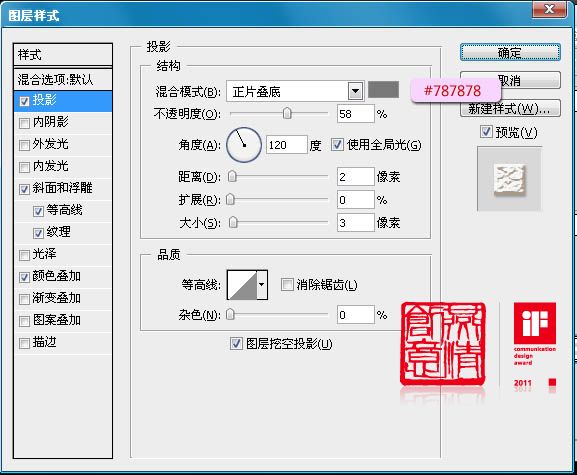
二十六、斜面与浮雕。
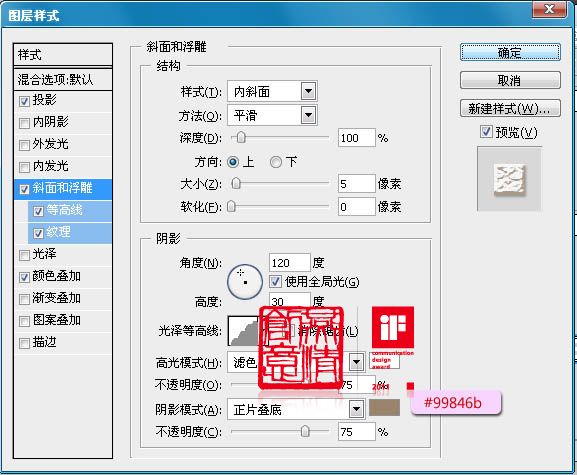
二十七、等高线。

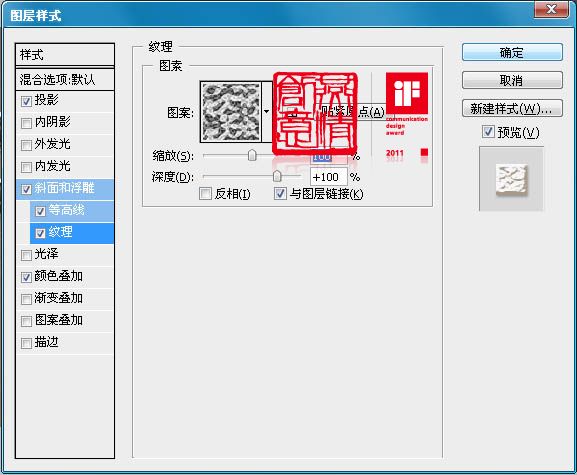
二十八、纹理: 下图中的纹理需要加载,在默认的“纹理”里面有。
二十九、颜色叠加。

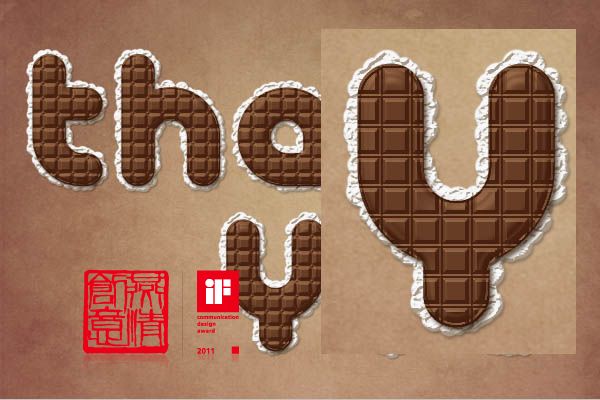
三十、完成后应该是这样的效果。