

步骤10
另一个图层准备好了吗?我们将需要在“Effects”图层组里添加新层,命名为“Abstract Lights”。

,步骤11
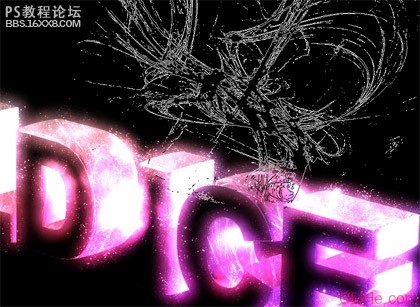
然后按着Ctrl单击图层面板中的“3D Text”图标(这里没有翻译明白,随后更改:盒子注),用custom abstract笔刷 在选择区域上涂抹,就像我们在步骤8做的那样(记住要用白色)。
步骤12
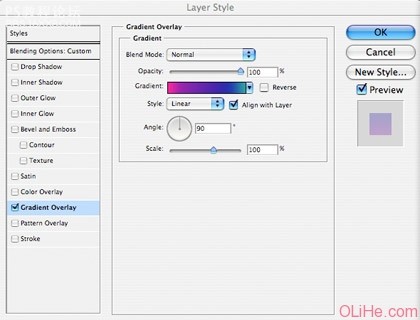
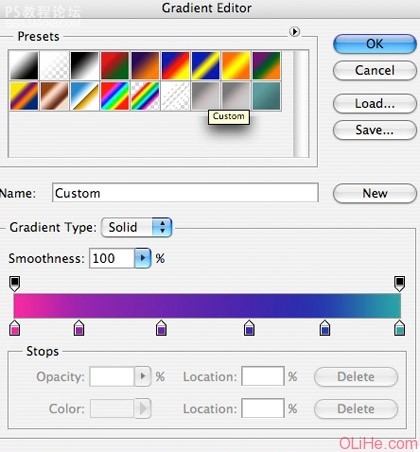
你已经做到了最后一步。冻结所有的图层。在 “White” 图层之上创建一个… 最后的…图层。 使用一个不错的大的自定义画笔,就像this。在文字之上画一些云。应用动感模糊(滤镜 模糊 动感模糊),角度为11,距离为200像素。 改变不透明度为“30%”,并采用下图设置渐变叠加:
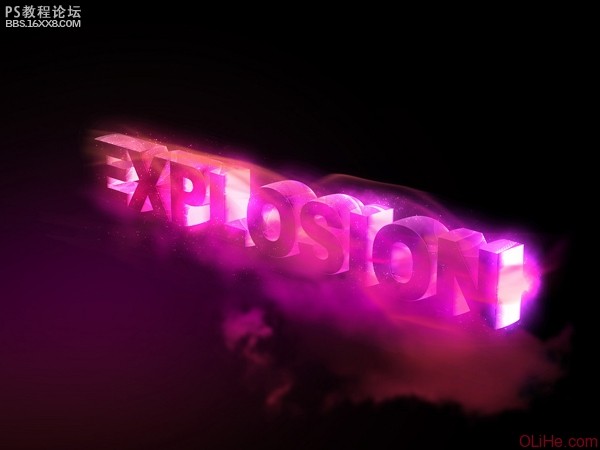
瞧! 你已经做成它了。一个快速,简单的方法就可以美化任何3D文字,把它变成了让人垂涎的作品。赶紧介绍给你的朋友们吧~
作者:活力盒子 翻译 出处:francescomugnai


