
Photoshop教程:立体字简单制作教程作者:思令 来源:IT世界网
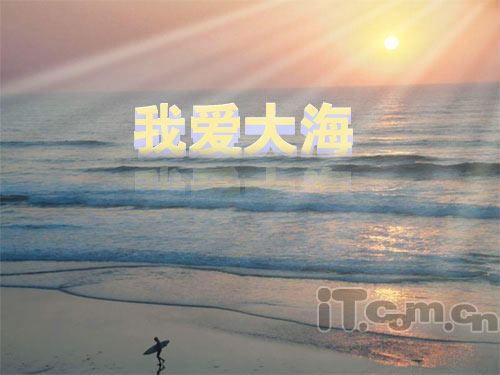
效果图
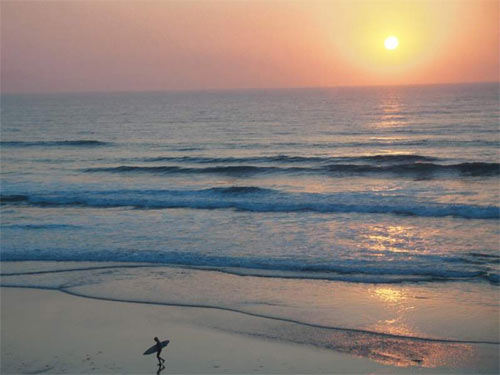
素材图
制作过程:
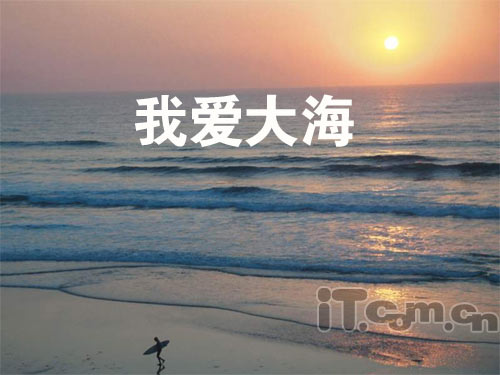
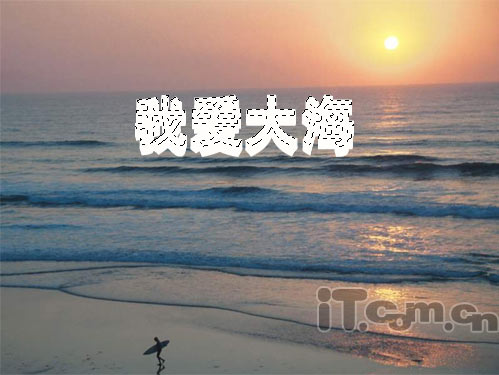
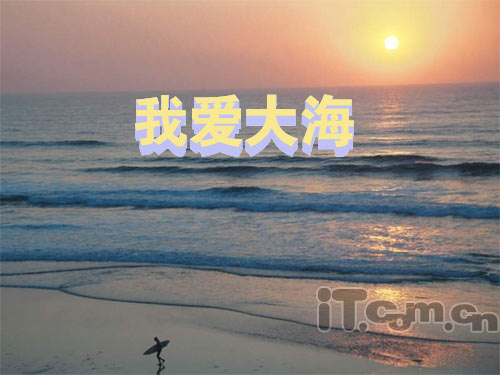
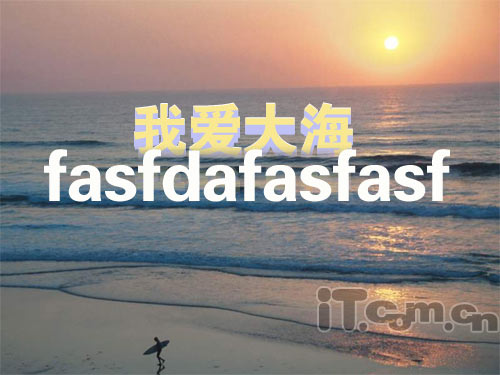
先在素材图上写上字体,写大一点也没关系.如图:

然后点击字体图层,按右键,选择栅格化文字,使字体变成图片。然后按CTRL+T,右键选择缩放,有的版本写自由变换
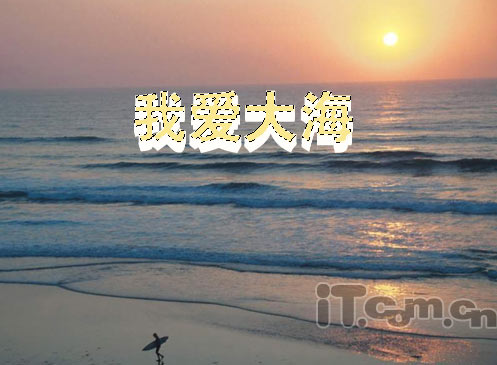
把字体弄到适合大小。如下图:
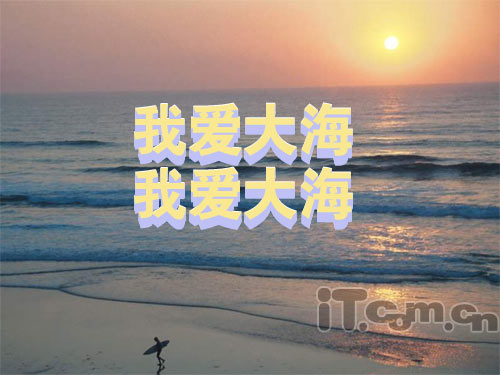
然后同时按住CTRL+ALT+上或下的箭头按键,我是一直按了12个副本,如下图:
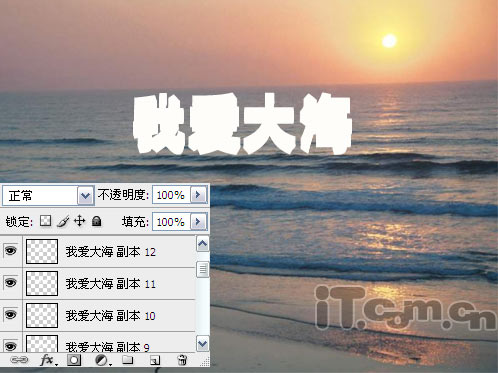
然后先按住Shit,然后点击选中所有显示我爱大海的副本,再点击那个小三角形,点击合并图层,这层就命名为“我爱大海副本”,然后再按住CTRL键,点击“我爱大海”这个图层的小缩略图,如下图所示:
继续上一步,载入选区后,再新建一个图层,然后往这个图层填充颜色,我填了黄色,如下图:
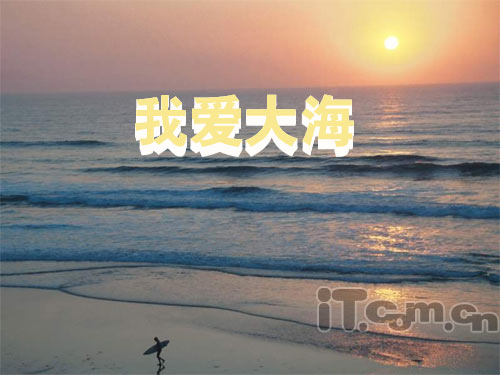
然后同样是按住CTRL键,现在点击“我爱大海副本”这个图层,如下图:
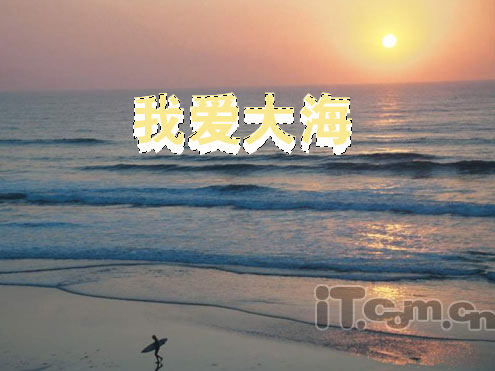
载入选区后,往这个图层填充颜色,我填充了淡紫色,有立体字的效果了。如下图:
接下来是做点字体的倒影,按刚才的方法,先按住Shit键,把刚才新建的两个图层和“我爱大海”及“我爱大海副本”四个图层合并成一个图层,然后复制这个图层,移动到相应的位置,如下图:
把这个层的图层副本的透明度调制25%左右,如下图:
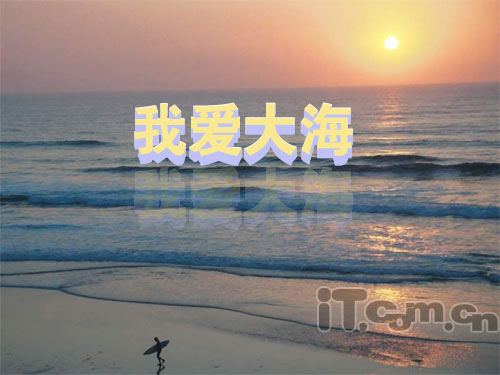
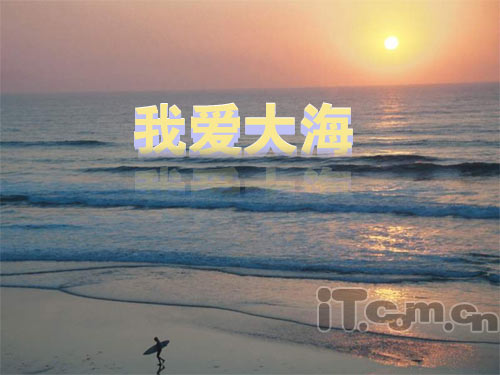
点击工具箱中的矩形选框,所它的羽化值设成3,然后选择字体的下半部把它去掉,有点倒影的感觉就行了,不用整个字。再把上面那层的底部也去掉一点点,让字体好像跟海水溶在一起的感觉。如下图:
下面加点光照效果,新建一个图层,随便写点字上去,如下图:

然后用自由变换弄成适合的方向,如下图:

效果图
素材图
制作过程:
先在素材图上写上字体,写大一点也没关系.如图:
然后点击字体图层,按右键,选择栅格化文字,使字体变成图片。然后按CTRL+T,右键选择缩放,有的版本写自由变换
把字体弄到适合大小。如下图:
然后同时按住CTRL+ALT+上或下的箭头按键,我是一直按了12个副本,如下图:
然后先按住Shit,然后点击选中所有显示我爱大海的副本,再点击那个小三角形,点击合并图层,这层就命名为“我爱大海副本”,然后再按住CTRL键,点击“我爱大海”这个图层的小缩略图,如下图所示:
继续上一步,载入选区后,再新建一个图层,然后往这个图层填充颜色,我填了黄色,如下图:
然后同样是按住CTRL键,现在点击“我爱大海副本”这个图层,如下图:
载入选区后,往这个图层填充颜色,我填充了淡紫色,有立体字的效果了。如下图:
接下来是做点字体的倒影,按刚才的方法,先按住Shit键,把刚才新建的两个图层和“我爱大海”及“我爱大海副本”四个图层合并成一个图层,然后复制这个图层,移动到相应的位置,如下图:
把这个层的图层副本的透明度调制25%左右,如下图:
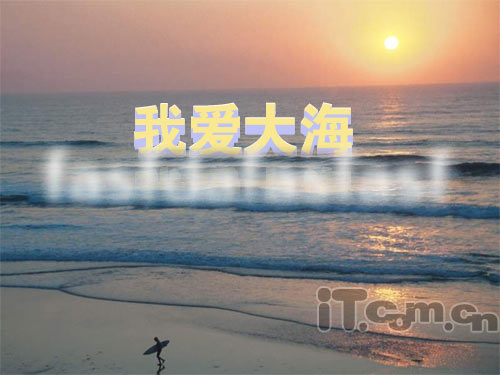
点击工具箱中的矩形选框,所它的羽化值设成3,然后选择字体的下半部把它去掉,有点倒影的感觉就行了,不用整个字。再把上面那层的底部也去掉一点点,让字体好像跟海水溶在一起的感觉。如下图:
下面加点光照效果,新建一个图层,随便写点字上去,如下图:
选择滤镜-模糊-高斯模糊,参数我设了6。效果如下:
再打开滤镜-模糊-动感模糊,调成90度角,再调下参数,效果如下:
然后用自由变换弄成适合的方向,如下图:
最后效果如下:


