photoshop教程中,我将为大家介绍如何在photoshop中创造一个神秘色彩的海洋文字特效。教程的步骤有点繁琐,需要大家细心制作。点击下载笔刷
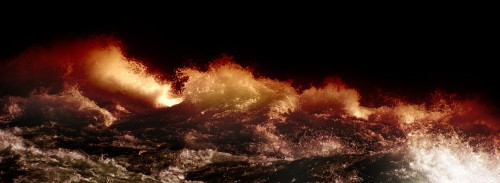
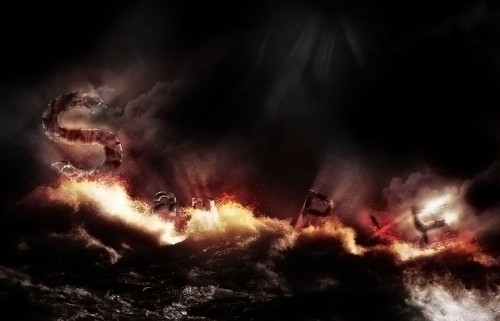
photoshop教程最终效果图:
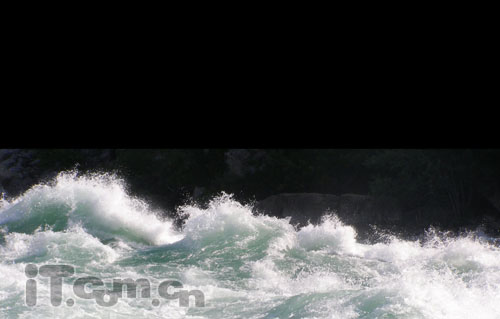
素材

1、创建一个新文件,大小为1200px*770px,填充黑色,然后打开“海洋”素材并粘贴到图片中,命名图层为”海洋“,如图所示。
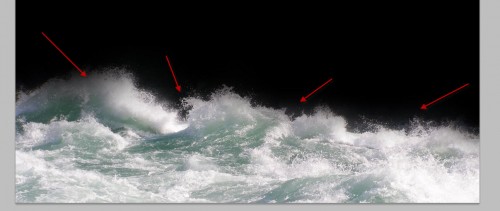
2、使用较大的柔角笔刷涂抹海洋的顶部,如图所示。
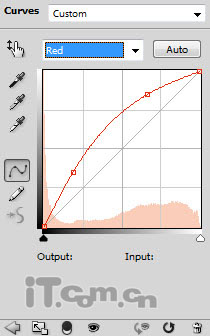
3、接正数我准备为海洋制作出一种超现实的效果,所以我添加了以下3个调整图层。(单击在图层面板下的”创建新的填充或调整图层“按钮)
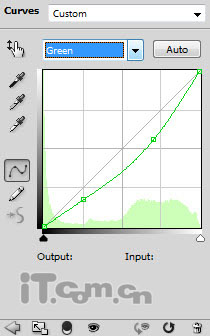
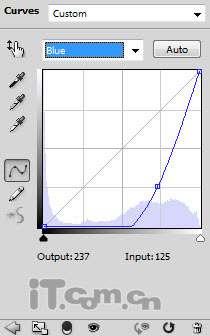
曲线调整图层
色阶调整图层:
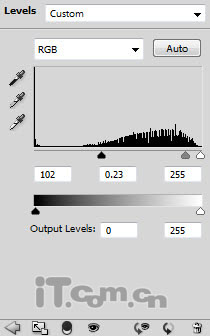
在色阶调整图层的蒙版上涂抹。下图蒙版涂抹的放大效果
色彩平衡调整图层:
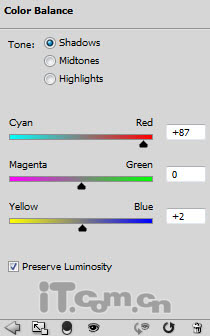
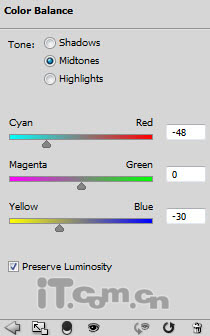
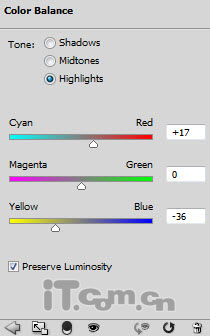
效果如图所示。