
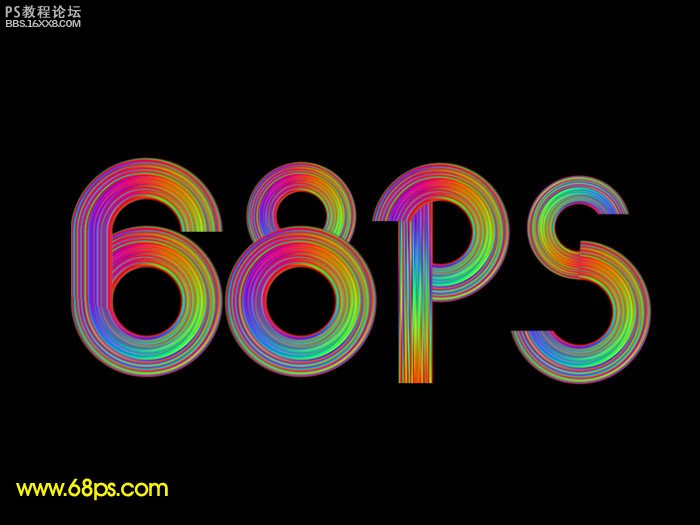
最终效果
1、新建一个800 * 800 像素的文件,背景填充黑色,新建一个图层,选择渐变工具,再选择彩虹渐变,拉出下图所示的线性渐变。
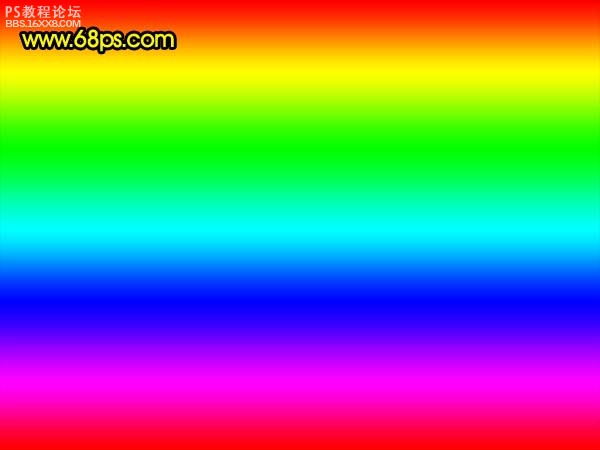
图1
, 2、对渐变层执行:滤镜 扭曲 波浪,参数设置如图2,效果如图3。
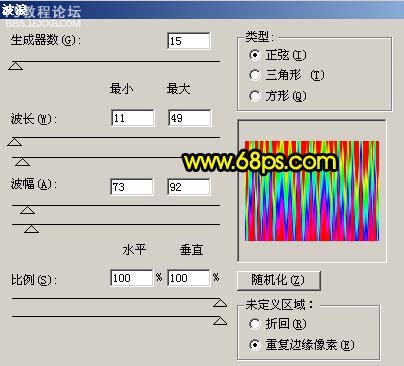
图2
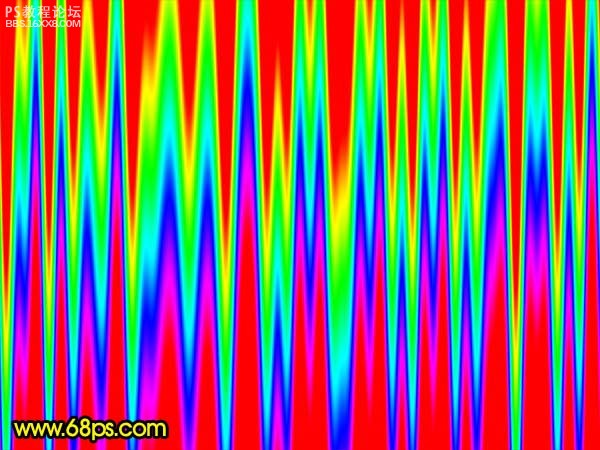
图3
3、按Ctrl + T 稍微把渐变层水平压扁一点,如图4。
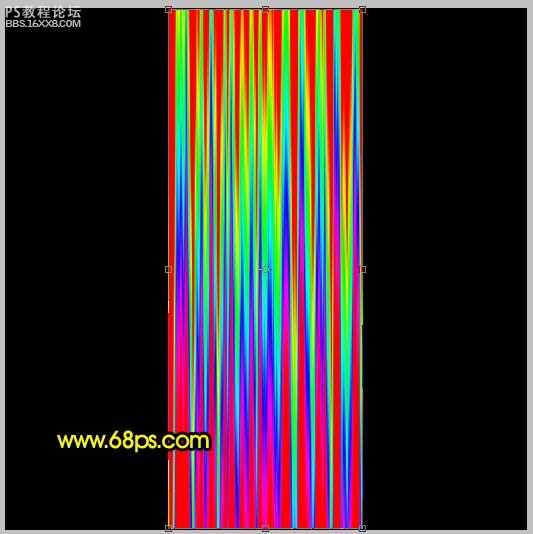
图4
, 4、选择菜单:编辑 变换 顺时针旋转90度,效果如图5。
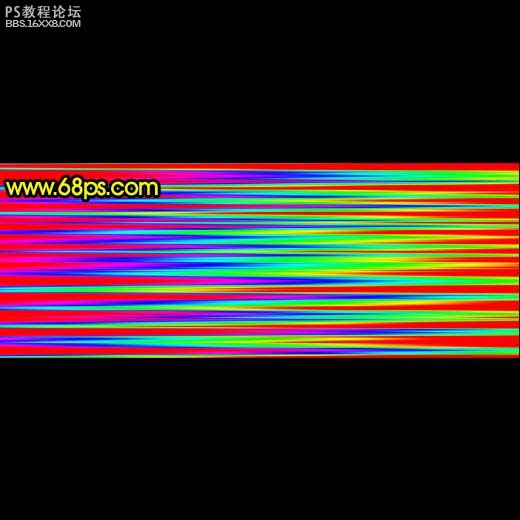
图5
5、把当前图层复制一层,对副本执行:滤镜 扭曲 极坐标,参数设置如图6,效果如图7。
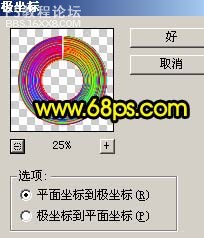
图6

图7
, 6、执行:滤镜 模糊 径向模糊,参数设置如图8,效果如图9。
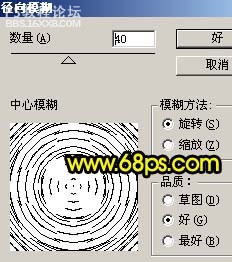
图8
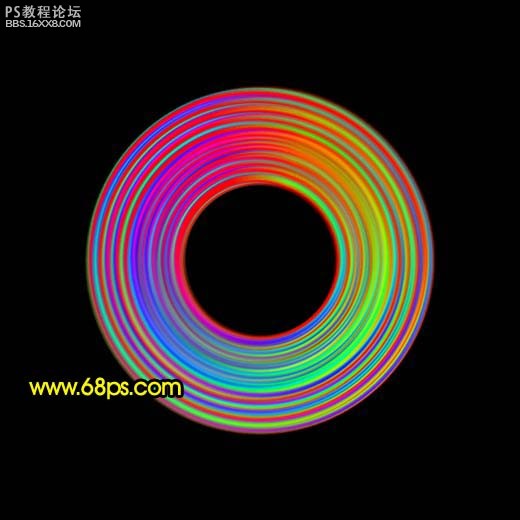
图9
, 7、按Ctrl + T 把彩色圆环缩小一点,如图10。

图10
8、把彩色圆环复制一层,用矩形选框工具框选圆环下半部分,如图11,按Delete删除,取消选区后效果如图12。
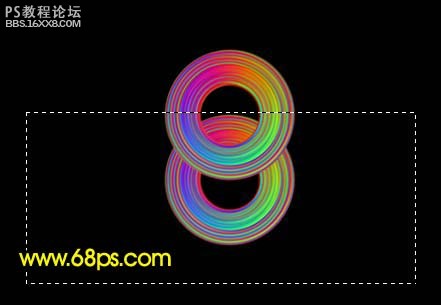
图11

图12
, 9、把半圆环的左边局部放大,用矩形选框工具款选下面1像素的位置,如图13,然后按住Alt 键,再按向下键复制,效果如图14。
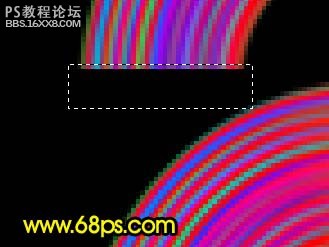
图13

1、新建一个800 * 800 像素的文件,背景填充黑色,新建一个图层,选择渐变工具,再选择彩虹渐变,拉出下图所示的线性渐变。
图1
, 2、对渐变层执行:滤镜 扭曲 波浪,参数设置如图2,效果如图3。
图2
图3
3、按Ctrl + T 稍微把渐变层水平压扁一点,如图4。
图4
, 4、选择菜单:编辑 变换 顺时针旋转90度,效果如图5。
图5
5、把当前图层复制一层,对副本执行:滤镜 扭曲 极坐标,参数设置如图6,效果如图7。
图6
图7
, 6、执行:滤镜 模糊 径向模糊,参数设置如图8,效果如图9。
图8
图9
, 7、按Ctrl + T 把彩色圆环缩小一点,如图10。
图10
8、把彩色圆环复制一层,用矩形选框工具框选圆环下半部分,如图11,按Delete删除,取消选区后效果如图12。
图11
图12
, 9、把半圆环的左边局部放大,用矩形选框工具款选下面1像素的位置,如图13,然后按住Alt 键,再按向下键复制,效果如图14。
图13