
效果图

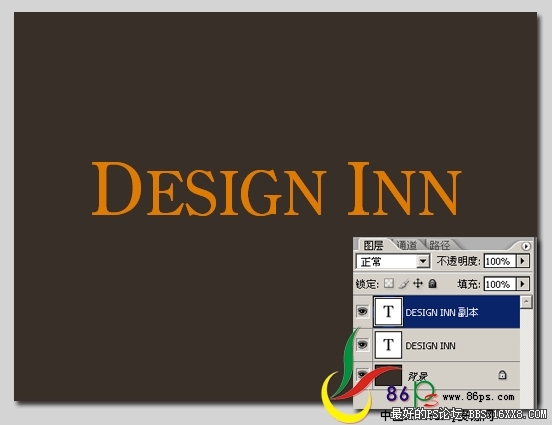
1、新建文档,填充一种背景色,输入文字,复制一层(文字颜色随便用什么色都可以)。
,
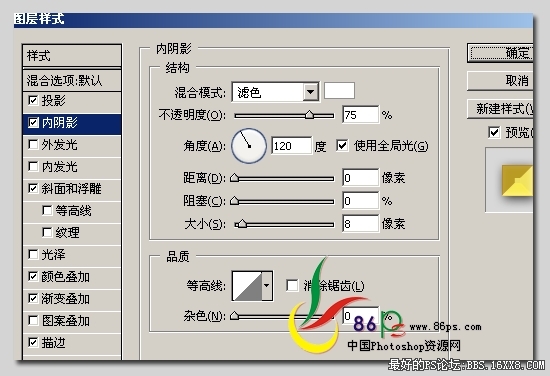
2、双击上面的文字层,设置图层样式。
投影:

内阴影:
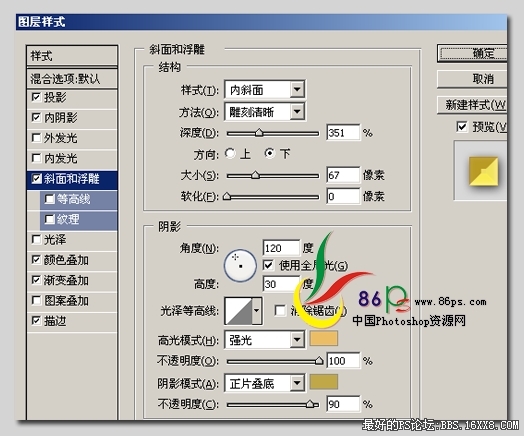
斜面和浮雕:
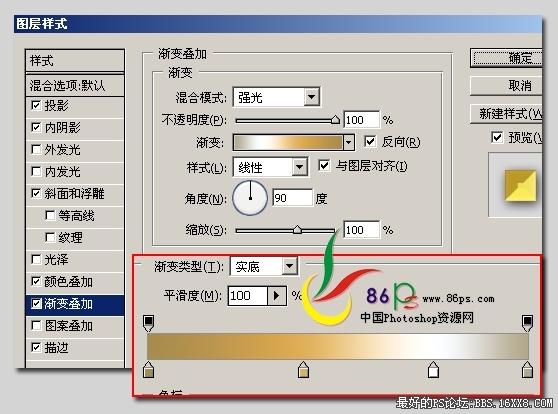
渐变叠加:
,
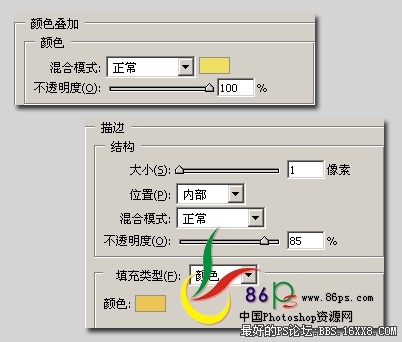
颜色叠加和描边:
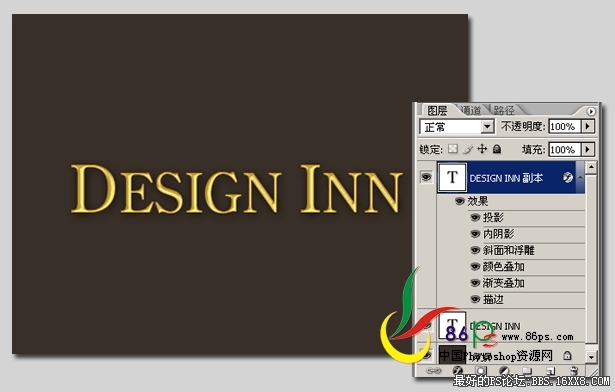
设完后上面的文字效果如下:
3、选择下面的文字层,设置图层样式。
投影:
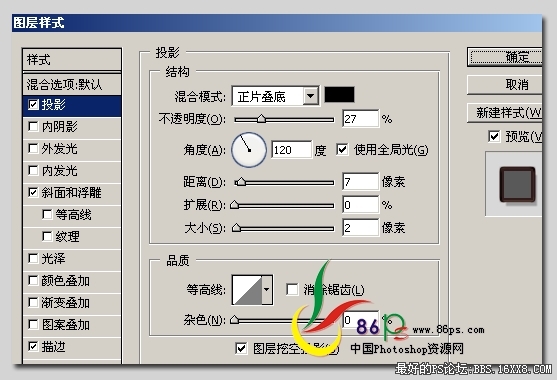
斜面和浮雕:

,
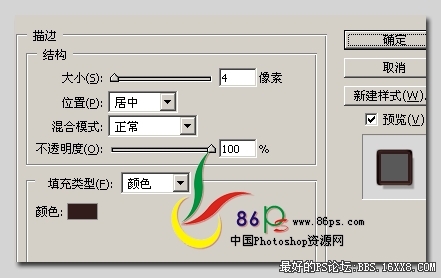
描边:
隐藏掉上面的文字,下面文字的效果如下:

最后,按Ctrl+下箭头2、3次,把下面的文字往下移动一点,使之有立体的感觉。
完成最终效果!
1、新建文档,填充一种背景色,输入文字,复制一层(文字颜色随便用什么色都可以)。
,
2、双击上面的文字层,设置图层样式。
投影:
内阴影:
斜面和浮雕:
渐变叠加:
,
颜色叠加和描边:
设完后上面的文字效果如下:
3、选择下面的文字层,设置图层样式。
投影:
斜面和浮雕:
,
描边:
隐藏掉上面的文字,下面文字的效果如下:
最后,按Ctrl+下箭头2、3次,把下面的文字往下移动一点,使之有立体的感觉。
完成最终效果!


