
[i=s] 本帖最后由 福特少普ps 于 2009-9-9 02:08 编辑 [/i]
原图

效果图

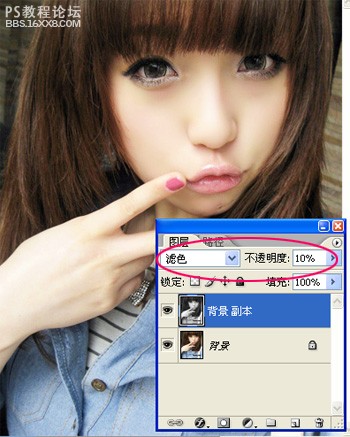
教程步骤如下1、打开原图,复制图层,在菜单栏选择,图像-调整-去色,把图层模式改为滤色,不透明度10%;
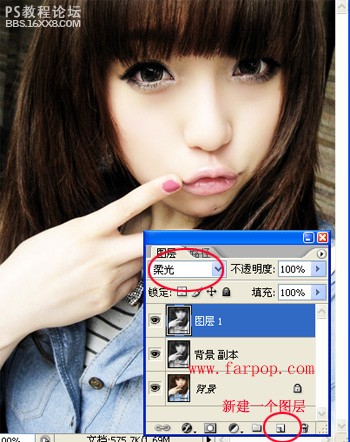
2、新建一个图层,盖印(CTRL+AIT+SHIFT+E),在菜单栏选择,图像-调整-去色,把图层模式改为柔光;
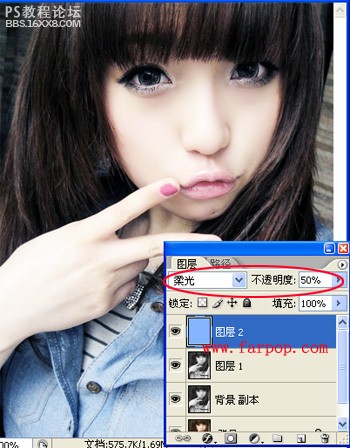
3、新建图层,在菜单栏上,编辑-填充#84B5FF,把图层模式改为柔光,不透明度50%;

原图
效果图
教程步骤如下1、打开原图,复制图层,在菜单栏选择,图像-调整-去色,把图层模式改为滤色,不透明度10%;
2、新建一个图层,盖印(CTRL+AIT+SHIFT+E),在菜单栏选择,图像-调整-去色,把图层模式改为柔光;
3、新建图层,在菜单栏上,编辑-填充#84B5FF,把图层模式改为柔光,不透明度50%;


