
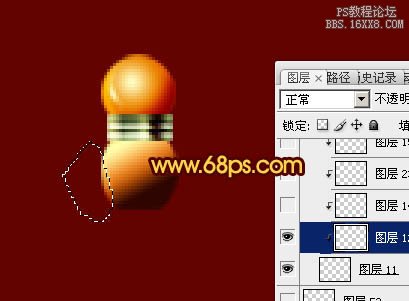
10、新建一个图层,按Ctrl + Alt + G 创建剪切图层。先用钢笔勾出左边的纹路选区,加上渐变色后用加深,减淡工具涂出质感。
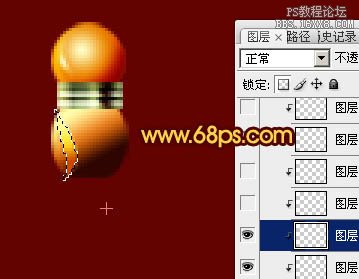
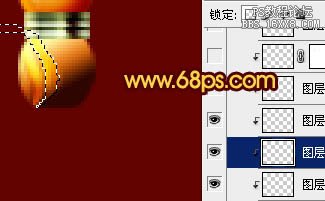
11、其它纹路的制作方法同上,过程如图17 - 19,注意好光的变化。

12、同上的方法制作装饰的其它部分,过程如图20,21。


11、其它纹路的制作方法同上,过程如图17 - 19,注意好光的变化。
12、同上的方法制作装饰的其它部分,过程如图20,21。


