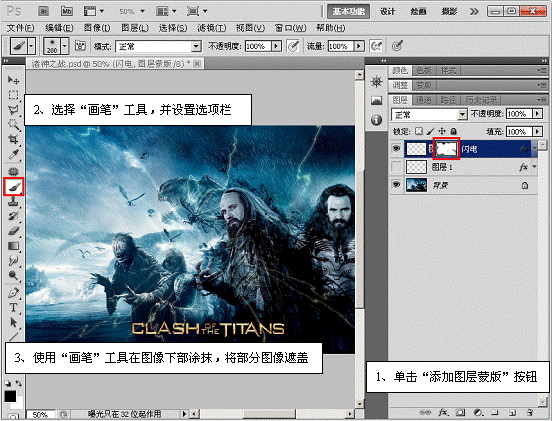
(11)为“闪电”图层添加图层蒙版,并使用“画笔”工具对蒙版进行编辑。
(12)在“图层”调板中复制“闪电”图层,两个图层重叠后,闪电的光亮度增强。继续使用“画笔”工具对蒙版进行编辑,减弱一些区域的外发光效果

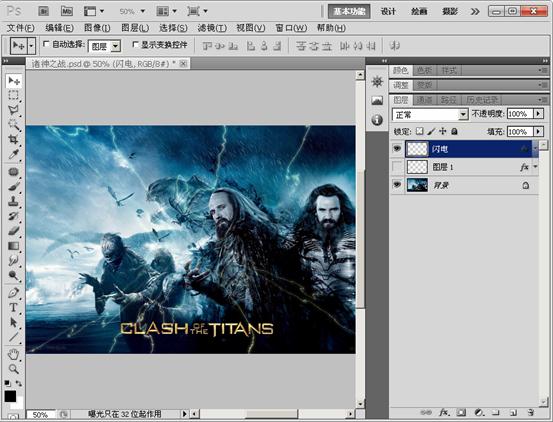
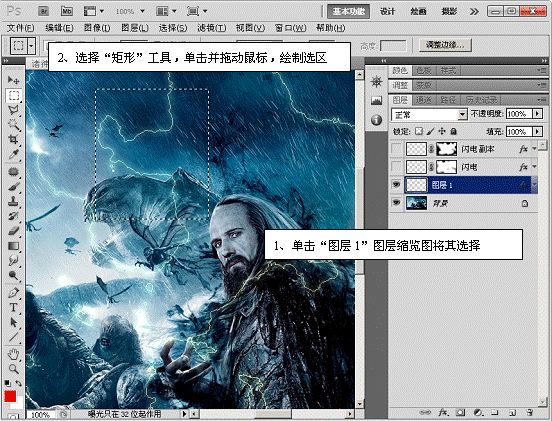
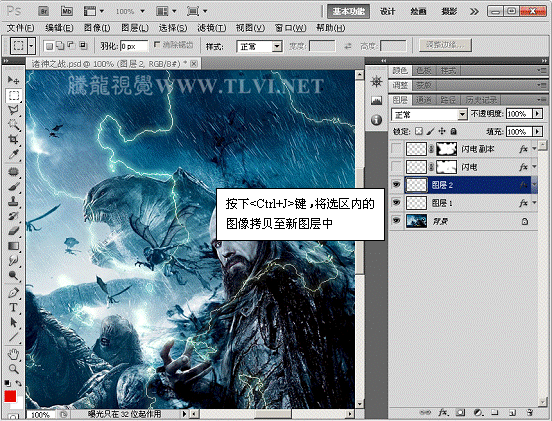
13)将两个闪电图层隐藏,并将“图层1”显示,使用“矩形”选框工具,绘制选区,将选区内的图像拷贝至新图层中
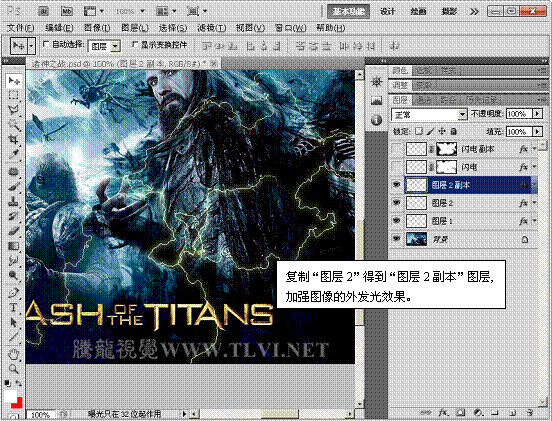
14)调整“图层2”中图像的大小、位置和旋转角度,完毕后将其复制

15)将“图层 1”隐藏,参照以上方法,多次复制“图层2”中的图像,并调整大小、位置和旋转角度,效果如下图

16)将两个闪电图层显示,使用画笔工具,设置圆形笔触在任何一个图层 2上绘制,即可添加光斑效果,至此完成本实例的制作