Photoshop教程:梦幻蓝水晶制作实例教程作者:佚名 来源:68ps.com
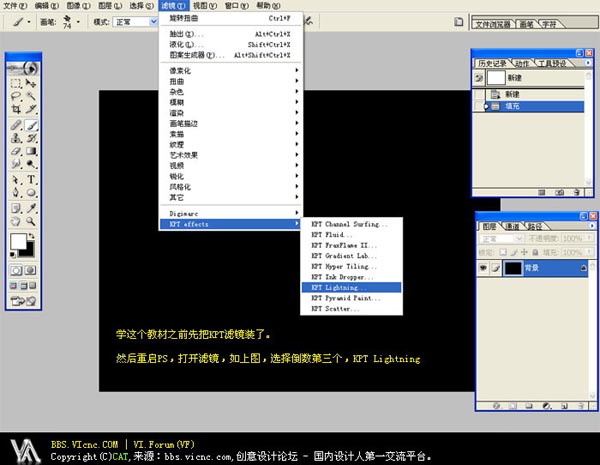
1、学这个教材之前,先把KPT滤镜装了,然后重启PS,打开滤镜,如下图,选择倒数第三个,KPT LIghtning。
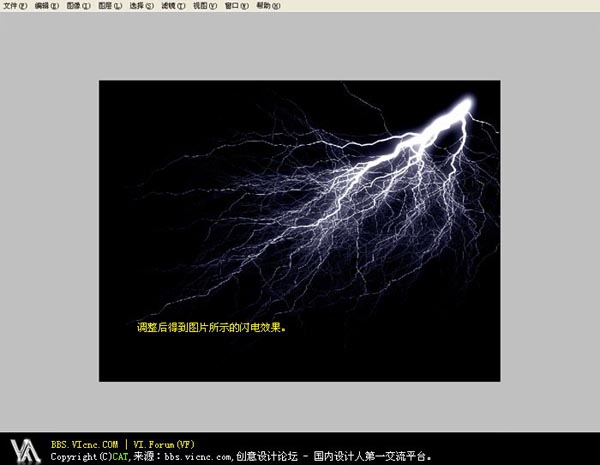
2、调整后得到图片所示的闪电效果。
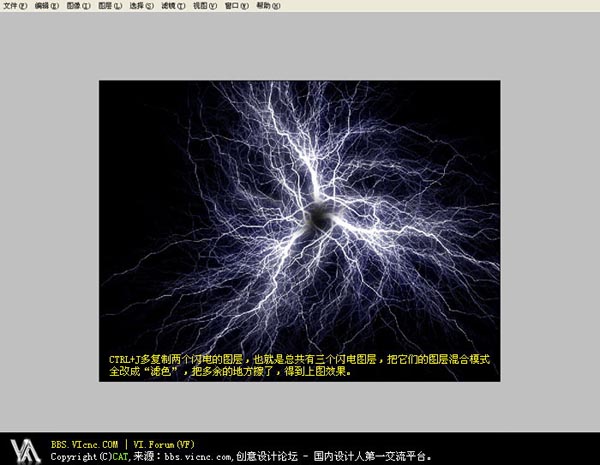
3、Ctrl J多复制两个闪电的图层,也就是总共有三个闪电图层,把它们的图层混合模式全改成“滤色”,把多余的地方擦了,得到下图效果。
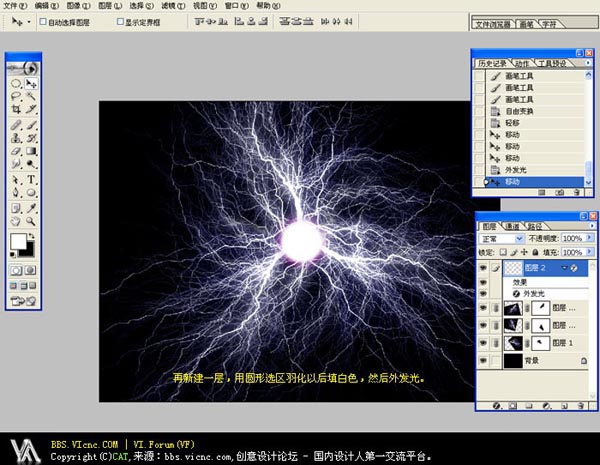
4、再新建一层,用圆形选区,羽化以后填充白色,然后选择混合选项外发光。
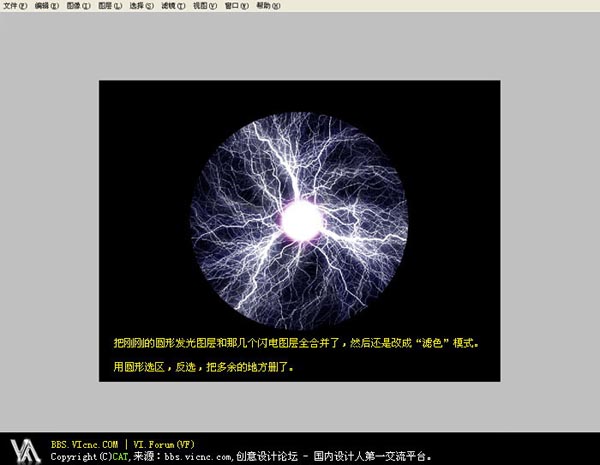
5、把刚刚的圆形发光图层和那几个闪电图层全合并了,然后还是改成“滤色”模式,用圆形选区,反选,把多余的地方删了。
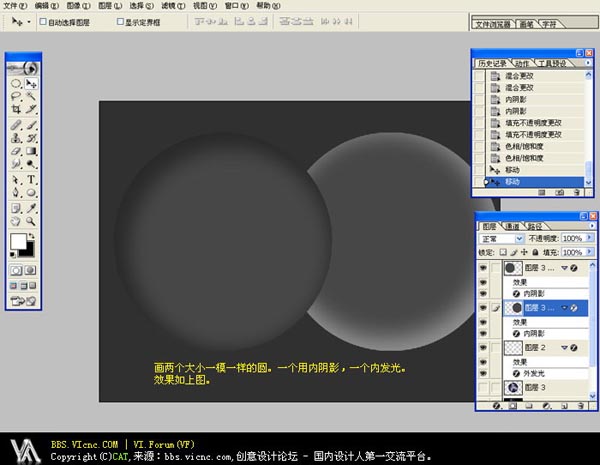
6、画两个大小一模一样的圆,一个用内阴影,一个内发光,效果如下图。
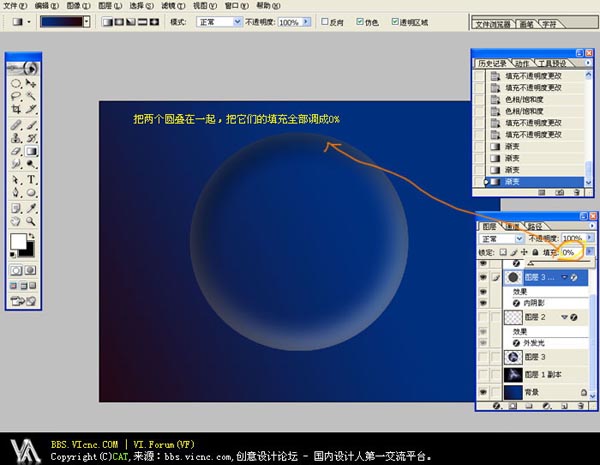
7、把两个圆叠在一起,把它们的填充全部调成0%。
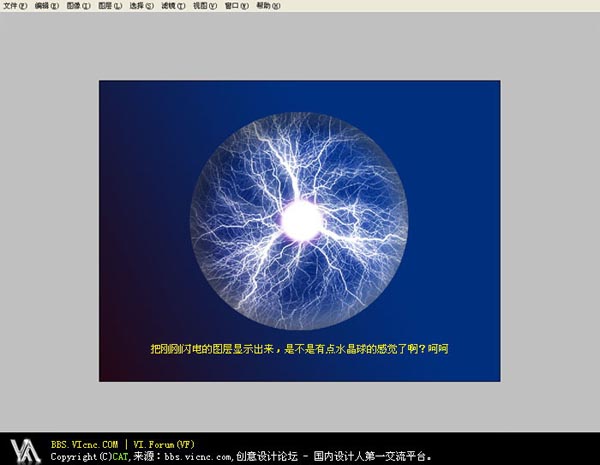
8、把刚刚闪电的图层显示出来,是不是有点水晶球的感觉了。
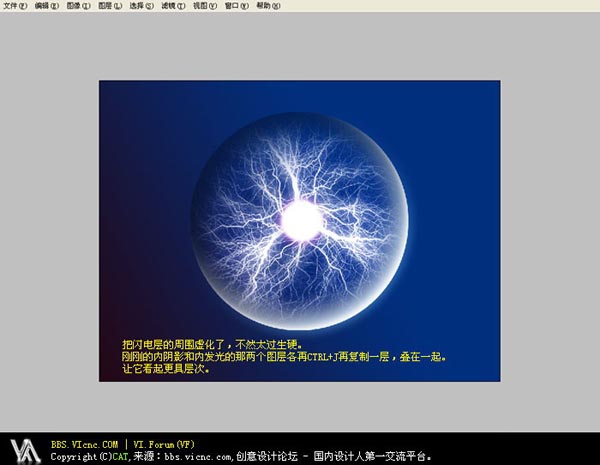
9、把闪电的图层周围虚化了,不然大过生硬,刚刚的内阴和内发光的那个两个图层各再Ctrl J再复制一层,叠在一起,让它看起更具层次。
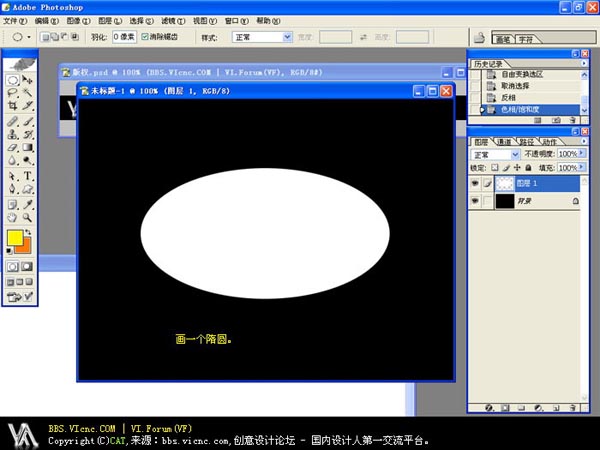
10、画一个椭圆。
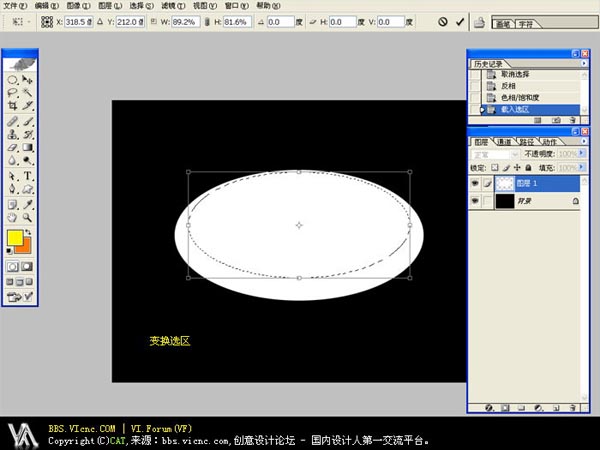
11、调出选区,选择菜单,选择-变换选区。
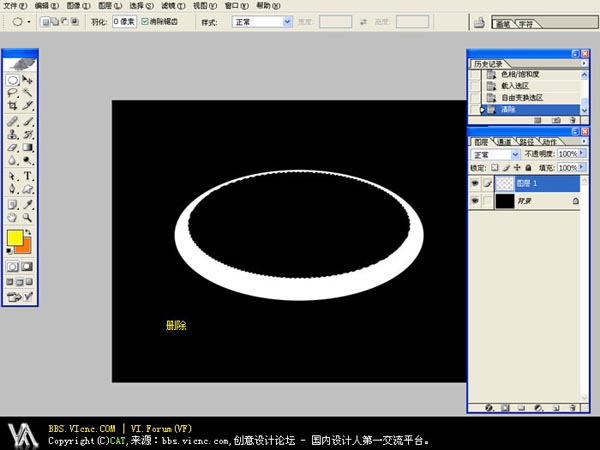
12、删除。
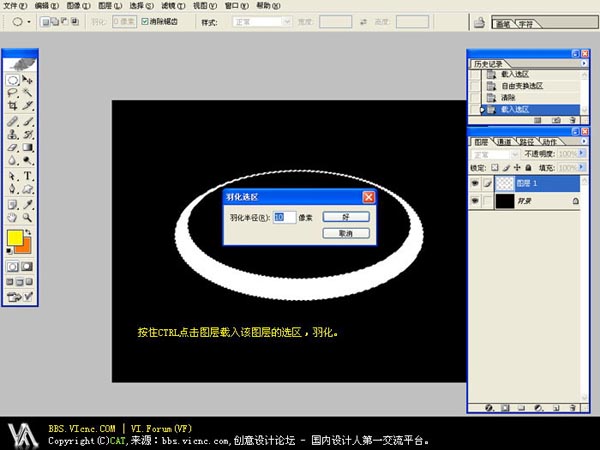
13、按住CTRL点击图层载入该图层的选氏,选择菜单,选择-羽化选区,羽半径为10像素。
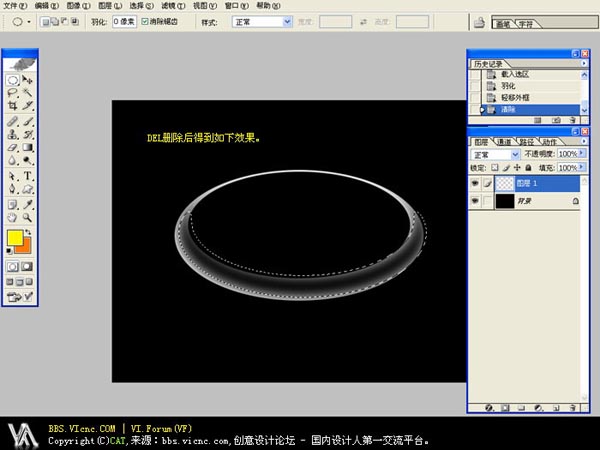
14、Delete删除后,得到如下效果。
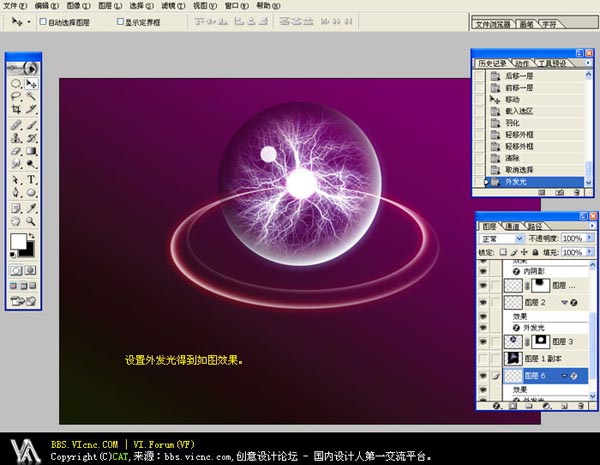
15、给图层设置外发光得到如图效果。
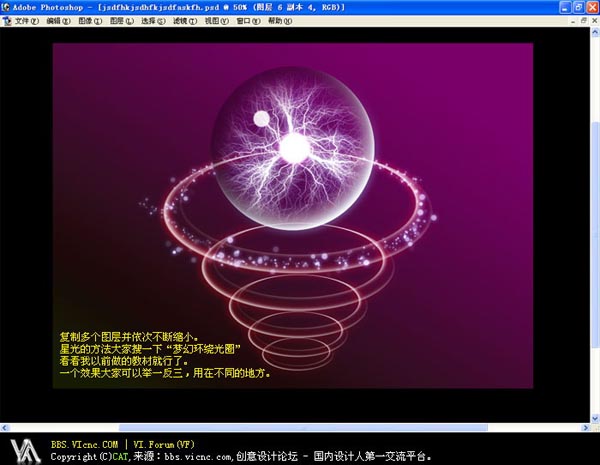
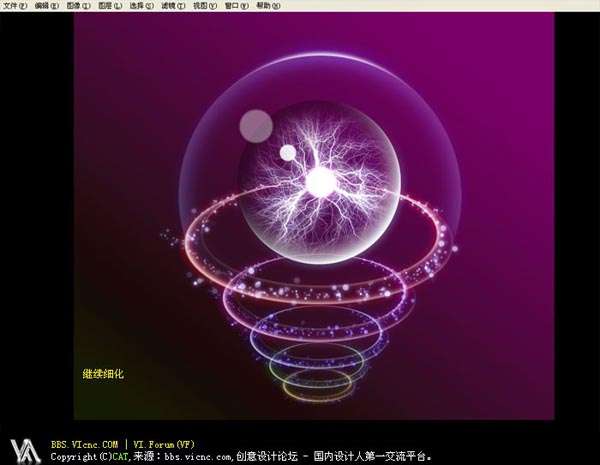
16、复制多个图层,并依次不断缩小,星光的方法大家搜一下“梦幻环绕光圈”看看我以前做的教材就行了,一个效果大家可以举一反三,用在不同的地方。
17、继续细化。
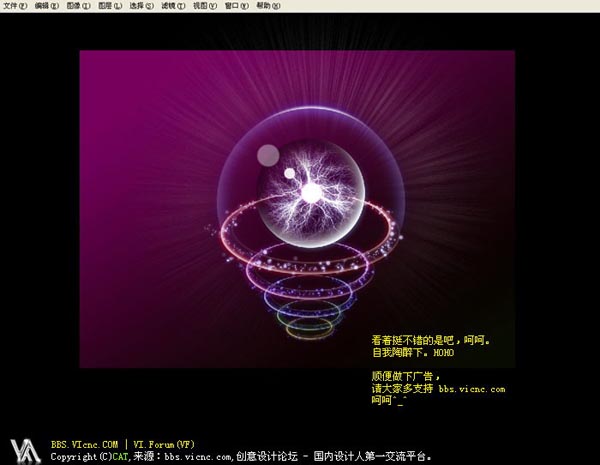
18、看看挺不错的是吧。
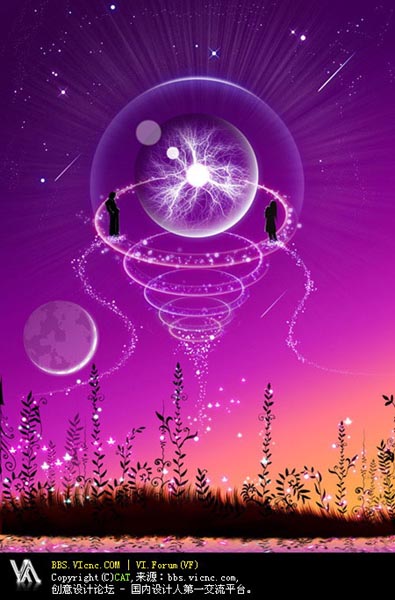
19、再画个小人人上去,看着有意境。

20、最后自己可以加上素材背景,完成效果图如下:
1、学这个教材之前,先把KPT滤镜装了,然后重启PS,打开滤镜,如下图,选择倒数第三个,KPT LIghtning。
2、调整后得到图片所示的闪电效果。
3、Ctrl J多复制两个闪电的图层,也就是总共有三个闪电图层,把它们的图层混合模式全改成“滤色”,把多余的地方擦了,得到下图效果。
4、再新建一层,用圆形选区,羽化以后填充白色,然后选择混合选项外发光。
5、把刚刚的圆形发光图层和那几个闪电图层全合并了,然后还是改成“滤色”模式,用圆形选区,反选,把多余的地方删了。
6、画两个大小一模一样的圆,一个用内阴影,一个内发光,效果如下图。
7、把两个圆叠在一起,把它们的填充全部调成0%。
8、把刚刚闪电的图层显示出来,是不是有点水晶球的感觉了。
9、把闪电的图层周围虚化了,不然大过生硬,刚刚的内阴和内发光的那个两个图层各再Ctrl J再复制一层,叠在一起,让它看起更具层次。
10、画一个椭圆。
11、调出选区,选择菜单,选择-变换选区。
12、删除。
13、按住CTRL点击图层载入该图层的选氏,选择菜单,选择-羽化选区,羽半径为10像素。
14、Delete删除后,得到如下效果。
15、给图层设置外发光得到如图效果。
16、复制多个图层,并依次不断缩小,星光的方法大家搜一下“梦幻环绕光圈”看看我以前做的教材就行了,一个效果大家可以举一反三,用在不同的地方。
17、继续细化。
18、看看挺不错的是吧。
19、再画个小人人上去,看着有意境。
20、最后自己可以加上素材背景,完成效果图如下:
搜索更多相关主题的帖子:水晶 Photoshop 实例 教程 梦幻