
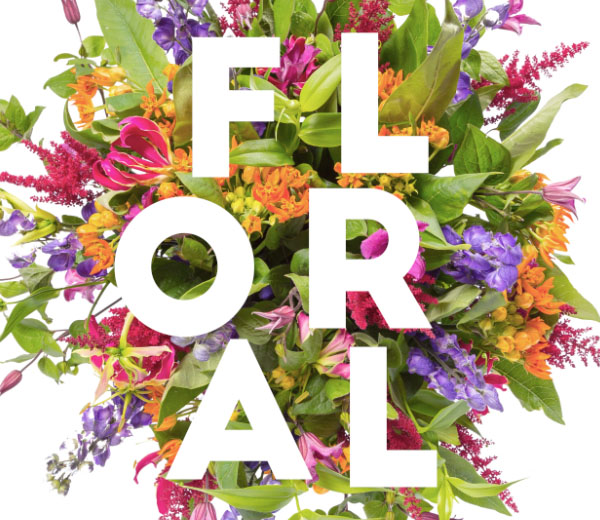
本篇教程通过PS创建一种分层的花卉字体文本效果,用花卉排版是一个设计趋势,结合漂亮的花卉元素与大胆的排版,创造一些优雅的设计,深受很多人的欢迎,同学们学会此类风格在以后的设计中相信会有用,感兴趣的同学们一起来制作一下吧。
步骤1
第2步
第3步

步骤4
第5步
2.创建文本
步骤1
第2步
第3步
效果图:

操作步骤:
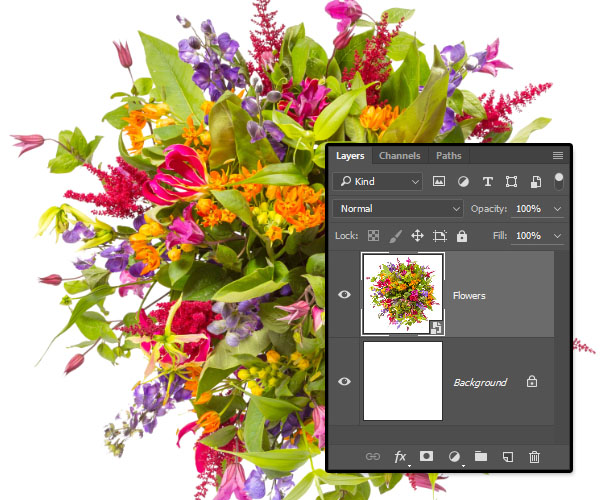
1.调整花着色步骤1
创建一个新的3000 x 3000像素的文件。将背景图层上的白色图像上分离出的花束顶视图的花束,并重新命名为它的图层花。
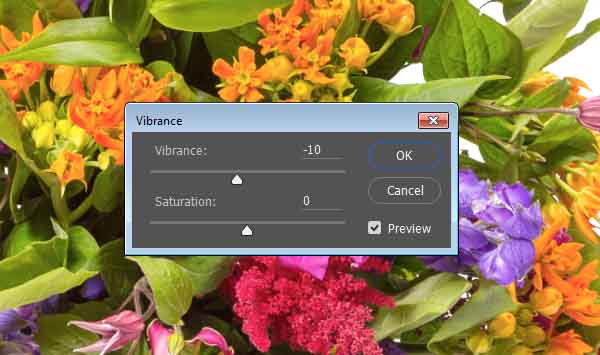
转到图像>调整> Vibrance,并将Vibrance值更改为-10。
转到图像>调整>色相/饱和度,并将饱和度值更改为-10。
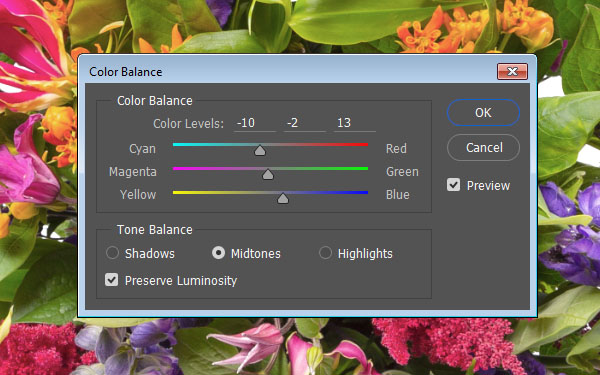
去图像>调整>色彩平衡,并改变颜色色阶到-10,-2,13。
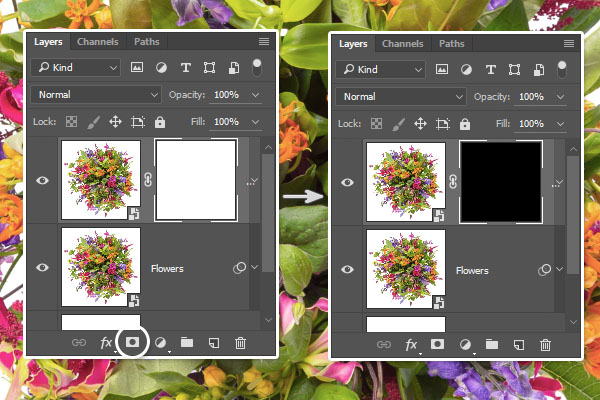
复制鲜花图层,然后单击“图层”面板底部的“添加图层蒙版”图标。
确保图层蒙版缩略图被选中,并填充Black。
步骤1
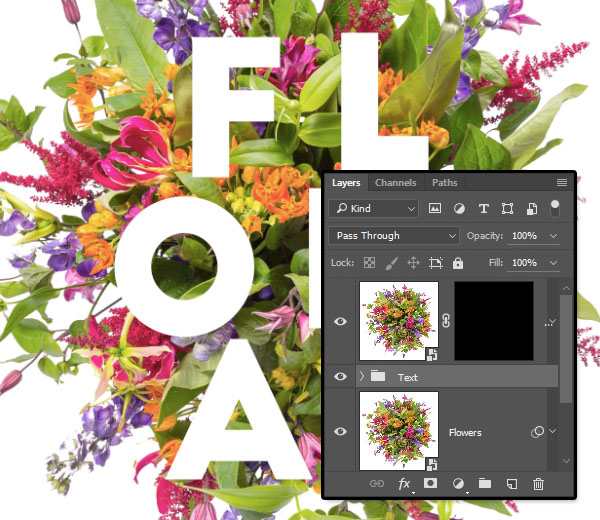
White使用Big John Regular字体创建文本。实际上你可以使用任何你喜欢的字体和字体大小,但是更大的尺寸和更大胆的字体看起来更好。这里使用的大小是765磅。
如果要分开放置这些字母,请在单独的图层中创建它们中的每一个,然后将它们放在所有的花朵图像上。
将您拥有的文本图层分组,然后调用组文本。然后将该组放置在两个花图层之间。
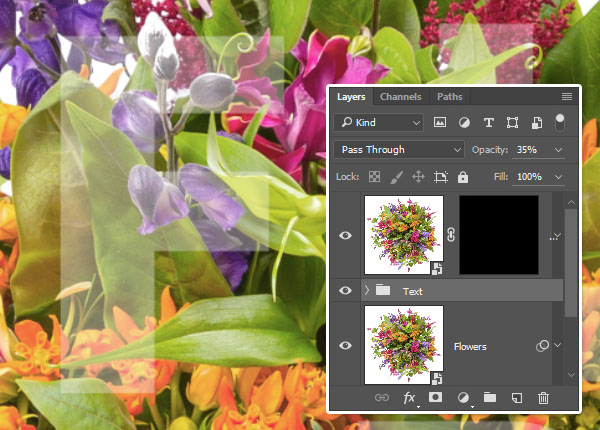
将“文本”组的不透明度降低到可让您清楚地看到文本和背景图像细节的值。


