
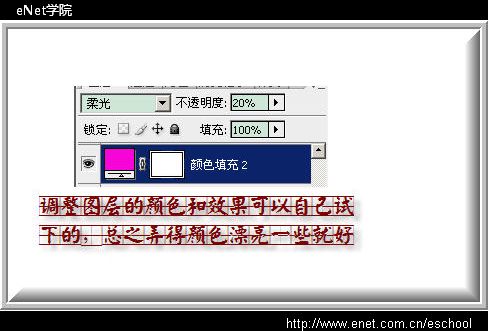
第四步:新建图层,填充颜色为ff00d8;图层混合模式为柔光,不透明度20,设置效果为[图6],得到效果见[图7];

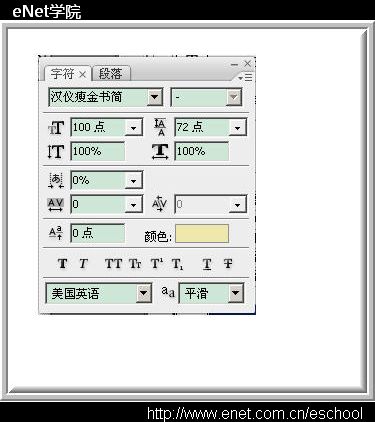
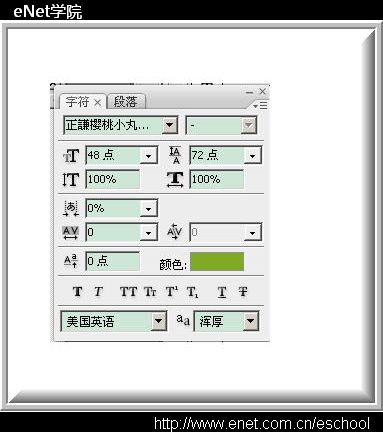
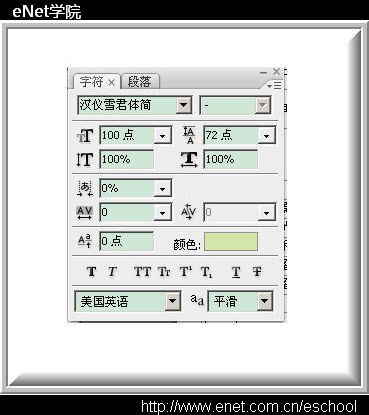
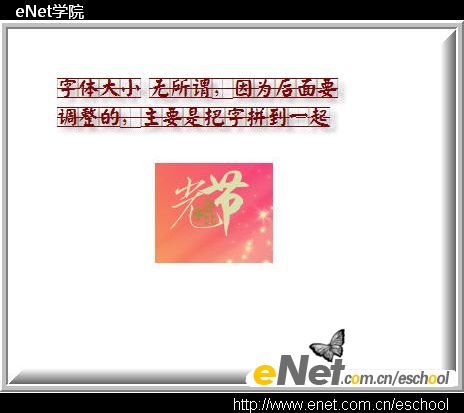
第五步:使用横排文字工具(快捷键T),输入光、棍、节三个文字;三个文字设置效果见[图8]、[图9]、[图10],把三个文字拼合起来,得到效果见[图11];
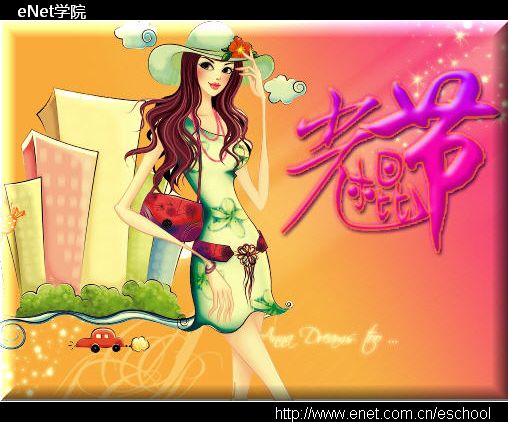
第六步:为文字使用一个漂亮的效果,首先把拼合后的文字使用(快捷键ctrl+T)放大,放置到合适位置;然后我使用了素材中的样式,样式面板点击素材样式;得到效果见[图12];
第四步:新建图层,填充颜色为ff00d8;图层混合模式为柔光,不透明度20,设置效果为[图6],得到效果见[图7];
第五步:使用横排文字工具(快捷键T),输入光、棍、节三个文字;三个文字设置效果见[图8]、[图9]、[图10],把三个文字拼合起来,得到效果见[图11];
第六步:为文字使用一个漂亮的效果,首先把拼合后的文字使用(快捷键ctrl+T)放大,放置到合适位置;然后我使用了素材中的样式,样式面板点击素材样式;得到效果见[图12];
下一篇:ps制作扫描遮罩动画GIF效果


