
本例主要通过简单的方法,对人物面部进行润饰,适合初学者学习
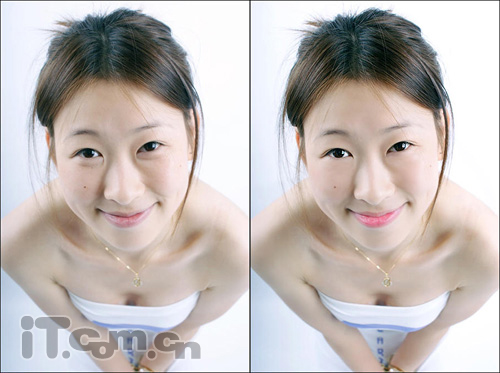
photoshop教程效果对比:
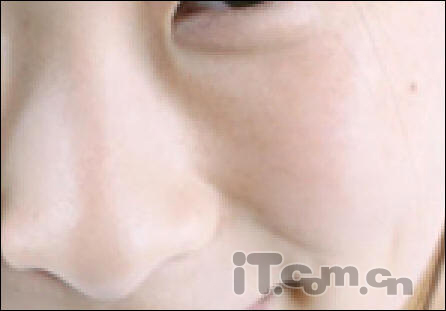
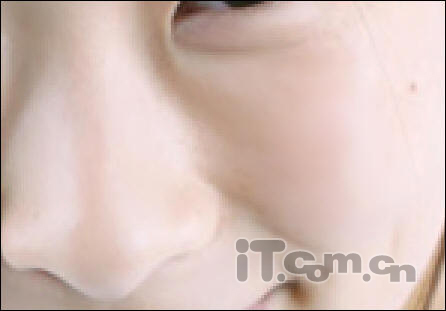
1、首先放大照片,使用“涂抹工具”对人物的皮肤进行涂抹,目的是为了使用皮肤的颜色更均匀,看起来更光滑,如图所示。
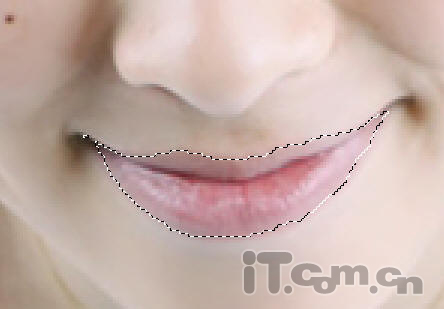
2、使用“磁性套索工具”选择人物的嘴唇,如图所示。
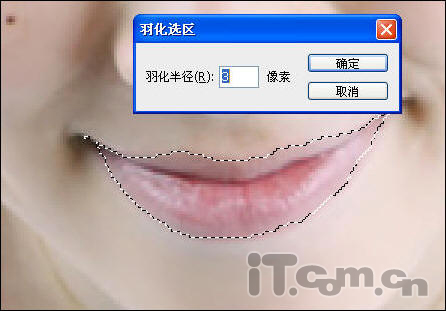
3、按下Ctrl+Alt+D快捷键,对选区进行设置羽化效果。
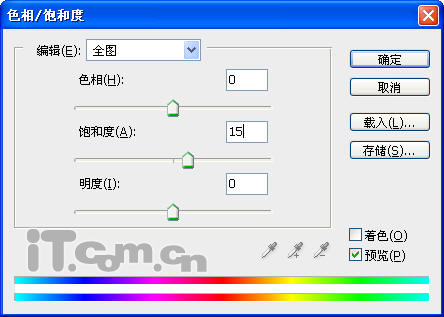
4、在菜单栏中选择“图像—调整—色相/饱和度”命令,调高嘴唇色彩的饱和度,使嘴唇看起来更明艳,如图所示。
本例主要通过简单的方法,对人物面部进行润饰,适合初学者学习
photoshop教程效果对比:
1、首先放大照片,使用“涂抹工具”对人物的皮肤进行涂抹,目的是为了使用皮肤的颜色更均匀,看起来更光滑,如图所示。
2、使用“磁性套索工具”选择人物的嘴唇,如图所示。
3、按下Ctrl+Alt+D快捷键,对选区进行设置羽化效果。
4、在菜单栏中选择“图像—调整—色相/饱和度”命令,调高嘴唇色彩的饱和度,使嘴唇看起来更明艳,如图所示。
上一篇:ps为偏红人物照片美白


