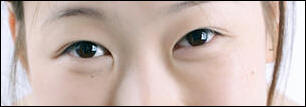
5、使用“锐化工具”涂抹人物的眼珠,用“减淡工具”涂抹人物的“眼白”,使用眼睛看起来更闪亮,如图所示。
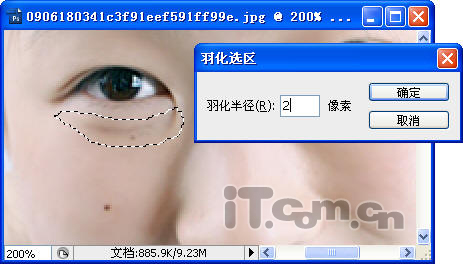
6、使用“套索工具”选取“眼袋”,如图所示。

7、按下Ctrl+Alt+D快捷键,设置羽化效果,如图所示。
8、在菜单栏中选择“选择—变换选区”命令,调节选区的位置,然后按下Enter键认,如图所示。
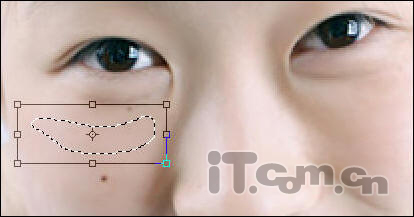
9、按Ctrl+J快捷键复制选区的内容,然后使用“移动工具”移动自制出来的图层,用于遮蔽“眼袋”,并设置该图层的“不透明度”为80%,如图所示。
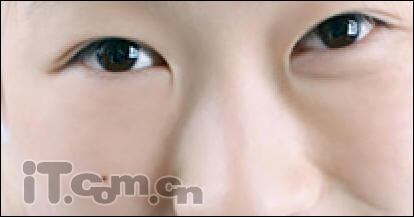
10、使用前面步骤的方法,去除另一只眼睛的眼袋,如图所示。